
My sister was over the other day asking how to do an applique project. She wanted an explanation so that she could go home and do it herself. She is a visual person and likes directions so I searched for a tutorial that would help her out. I found several different ones but none the way I do my applique. I hope this helps make applique a little easier for her and for you! Enjoy!
Materials needed:
Fabric (pre-washed without fabric softener)
T-shirt (or whatever you are going to applique onto, make sure it is also pre-washed without fabric softener)
Heat n' Bond Lite
Iron
Sewing Machine
Scissors
Coordinating Thread
Directions:
1. Find what you want to applique. Today I am making a circle with the letter A to put on a onesie. I made this in Word and printed it out and adjusted the size until it was the size to fit on a onesie.

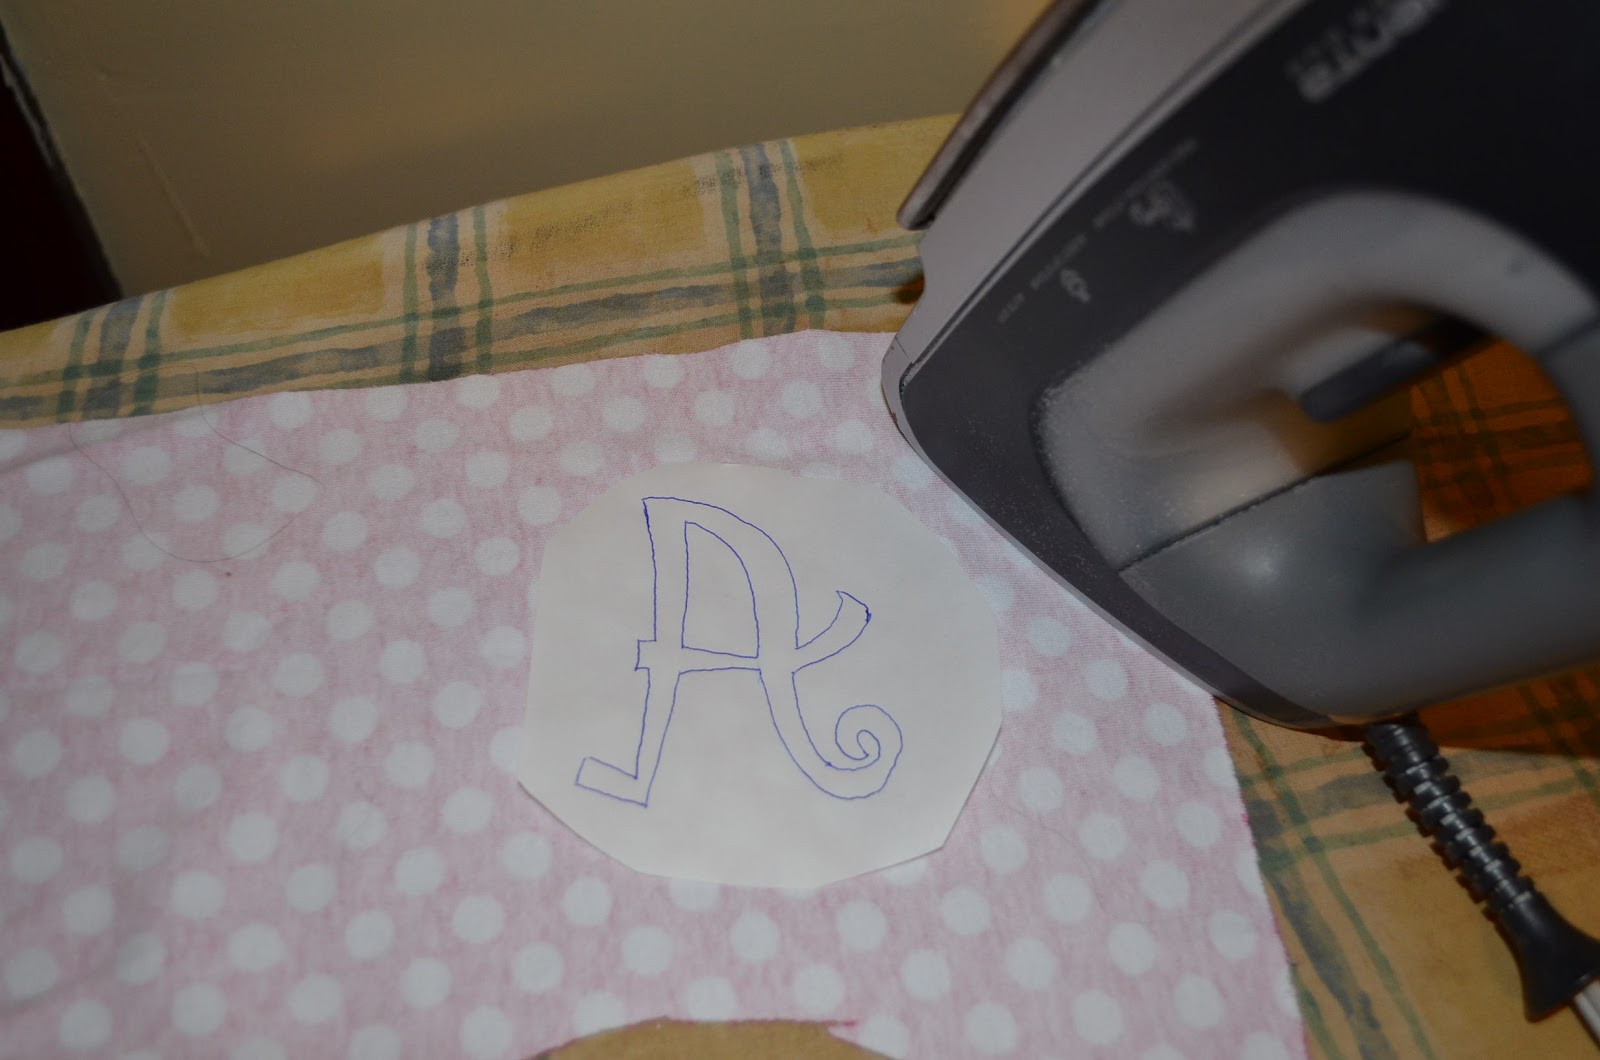
2. You will need your Heat n' Bond Lite Iron on Adhesive and a pen. You will trace your letter backwards to make the applique correct. You can do this by making a mirror image on a computer program or you can turn your sheet of paper over and trace it with a black marker (by doing this you will be able to see the letter through your Heat n' Bond). You will then put your Heat n' Bond Lite over top of that and trace both the circle and the letter.


3. On the Heat n' Bond cut around the circle and the letter. This does not and should not be exact as you can see in my picture.

4. Place the letter on the backside of the fabric that you have picked out. Iron it down as stated on the Heat n' Bond Lite directions. Do the same for the circle.
5. Cut the circle and letter out. You will be cutting on the lines this time.

6. Peel the backing off of the pieces you have just cut out.


7. Place the circle on the t- shirt. At this point I usually use an applique pressing sheet or a piece of scrap fabric over top of the applique so that if there is anything on my iron I will not get it on my white shirt.

8. Place the letter on the t-shirt and the pressing sheet/scrap fabric on top of that and iron the letter down.

10. Pick out your coordinating thread and sew a small seam with a straight stitch around the circle applique. You do not need to back stitch when you start your stitches because you will end up coming all the way around your applique and at that point you will sew on top of your beginning stitches and then back stitch. Change thread if you need to and do the same for the letter.

11. I hope I have made applique a little easier to understand!

I'm just wanting to put a piece of patterned fabric on another piece of fabric. Will the applique fray when it is washed a number of times? I've never appliqued before, except for the stuff I did for my baby 50 years ago. Can I get you to send my answer to Lhuebel@ymail.com? Please? Thanks!
ReplyDeleteThis tutorial is very helpful, especially with all the visual aids.
ReplyDelete