There are a ton of tutorials on the breastfeeding covers so I had debated on creating another one. I have made many of these over the years and when a friend wanted to learn how I tried to find a tutorial like the one I make but I ended up giving her more directions so I figured I would add to the numerous tutorials out there with making one of my own. I also included a burp cloth that you can roll your breastfeeding cover up in so that it stays nice and tidy in your diaper bag. I hope that you find the instructions easy to follow! Tomorrow I will be posting the tutorial for the
Burp Cloth Roll-Up.
This project will take about 2 hours to complete.
Materials Needed:
Fabric: 1 1/4 yards - this includes enough material to make the burp cloth (please wash, dry and iron)
D Rings: 1 1/4 inch
Boning: 12" to 16" depending on who you are making it for (not well endowed and on the thinner side 12", well endowed 16", use your best judgment)
1/2" Rigilene Polyester Boning (this is the only kind I will use, you may have to order it via internet)
Thread: coordinating to your fabric
Cutting Mat
Rotary Cutter
Rulers
Optional:
Terry Cloth: 1/2 yard (10" square for the cover and 18"x9" rectangle for the burp cloth, this fabric shrinks a lot. I would purchase 1/2 yard to be on the safe side and
you must wash and dry this before sewing it due to the large amount of shrinkage.)
Batting: 18"x9" for the burp cloth only (you will not need this for the breastfeeding cover)
Starch (I like to starch my hem to get a nice crisp straight line)
Card Stock with 1/2" line drawn on it (Thanks
Martha Stewart)
Directions
1. Wash, Dry and Iron your fabric and your terry cloth.
2. Cut Fabric.
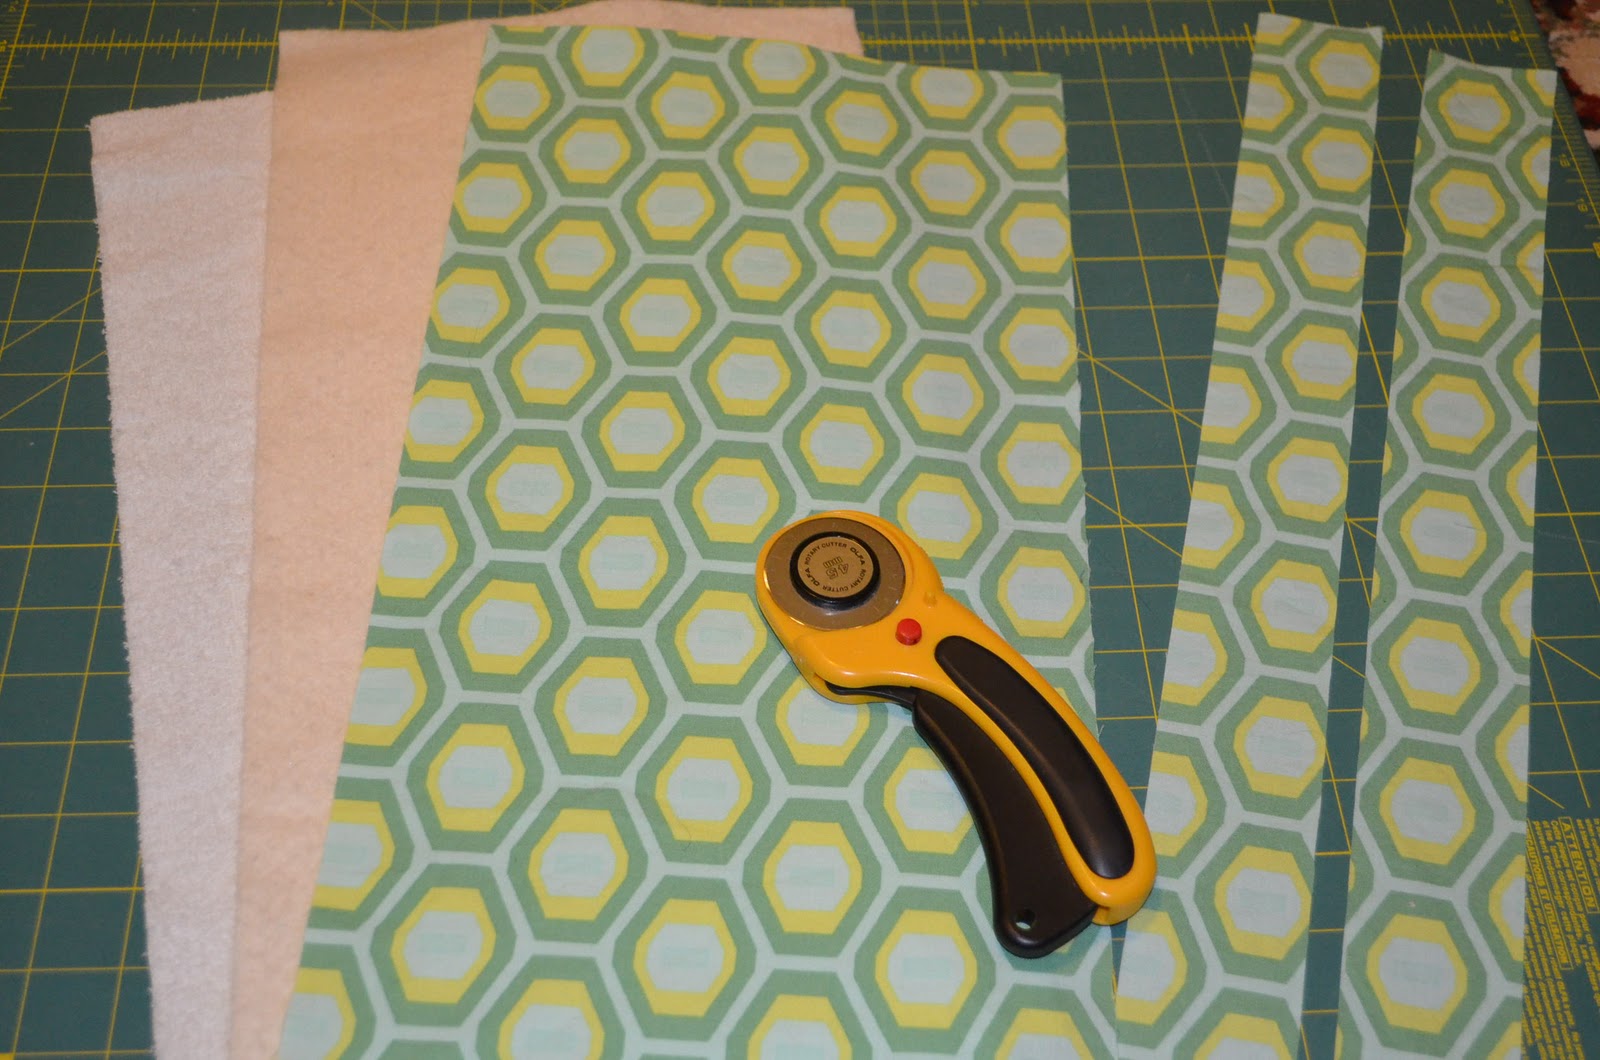
- Straps 5"x25" & 5"x6"
- Cover 30"x40"
- Terry Cloth Pocket 10"x10"
- Boning 12" to 16"
Fold Salvage Edges (that is where the writing is) together.
Square up your fabric by taking a taking your square ruler and lining it up against the folded edge and butting your long ruler up against it as shown and cutting off the end.
Measure 30" and cut, this will be our cover. Measure 5" and cut, this will be our straps.
Fold the cover again the opposite way so that you have 4 layers of salvage. Measure from top crease down 20 inches (due to fold this will give you 40 inches). Cut off the salvage and the remaining couple of inches.
Make sure you have folded this correct and are cutting off the SALVAGE edge.
I use my large square ruler to cut out a 10" square from the terry cloth material.
Cut the boning 12" to 16".
We will leave the strap the way it is for now and after we sew it we will then cut it into two (if you already cut it's not an issue)
2. Straps:
Iron the fabric in half, open back up and iron both sides so they meet in the crease, fold again and re-iron the first crease. You should have 4 layers of fabric measuring 1 1/4" wide.
Sew a small seam allowance on the left and right side of the fabric from the top to the bottom.
If you have not yet cut your fabric do so at this time (25" and 6")
Fold down the top of the long strap 1/2" and iron. Fold again 1/2" and iron. On the smaller strap fold down 3/4" and iron and again 3/4" and iron again, insert the D rings within the fold.
From this point on you will always bring your thread to the top before sewing.
Sew a small seam on the top and bottom of the fold. Sew two seams across the fabric as shown on the D ring strap.
3. Cover:
- Take your card stock that has a 1/2" line and iron a 1/2" seam all around your cover (I like to use my starch spray to get a nice crisp line). Then do it one more time.
- Iron your 10" square terry cloth material in 1/2.
- Sew a small seam at the top of the terry cloth. This fabric is very stretchy and sometimes doesn't like to go through the sewing machine so I will normally start sewing a small piece of scrap material and then feed the terry cloth in. You may notice some stretching after you have sewn it. Get your square ruler out and square it back up the best you can.
- Lay your cover down so that the back side is facing you. Place the terry cloth triangle in the bottom right hand corner and pin well.
- Sew a 1/4 seam on both sides and the bottom (do not sew the top as of yet).
- Take the corner where the terry cloth is and fold it in half. Take your ruler and a marking pencil and mark a 2" line on each side of the fold. Bring your thread to the top and sew from your seam up to where the terry cloth ends for each line that you drew.
- Fold the top of the cover in half and make a crease. Fold the boning in half a make a small crease. Match the two up and place the boning inside the 1/2 fold you have already created. Make sure that once the boning is in it is facing the correct way.
- Take both straps and fold them up 1/2" at the bottom and iron it. Tuck the longer one into the left side of the fabric so that half of it is under the boning and half is not and pin it. This should be the left side as if the mother was wearing it (unless she is left handed, then do opposite). Tuck the D ring strap into the right side of the fabric so that half of it is under the boning and half is not and pin it. This should be the right side as if the mother was wearing the cover (opposite if left handed).
- You will be sewing two seams at the top. Start sewing at right/left hand seam you started/ended with before, making a 1/4" seam allowance. Then make a smaller seam allowance towards the top of the fabric.
4. Finish it up!
- Make sure you have trimmed all threads.
- Wash, dry, iron and enjoy!
- See tomorrow's post for the Burp Cloth Roll-Up
 |
| Completed breastfeeding cover with terry cloth pocket and Burp Cloth Roll-up. |
 |
| Breastfeeding cover all rolled up for easy storing in the diaper bag! |
Please leave a comment or link below if you make one!
I love hearing from everyone!