
Here is the Burp Cloth Roll-up for the Breastfeeding Cover. I came up with this idea a few years ago after I ordered a cover on-line (before there were tutorials online for them). It came with a little purse to put your cover back in after you used it. I thought it was a cute idea and made one for a friend. The next time I saw her I asked how she liked the little purse and she said she never used it because it was to hard to fit the cover in each time. I knew there had to be an easier way to keep the cover tidy while in your diaper bag and decided everyone needs a burp cloth anyway and decided to put the two together. I used this myself with my last daughter and really liked it and have heard from other mother's I have made them for who also like the idea. It's an easy project and a nice gift to go along with yesterday's cover.
Materials:
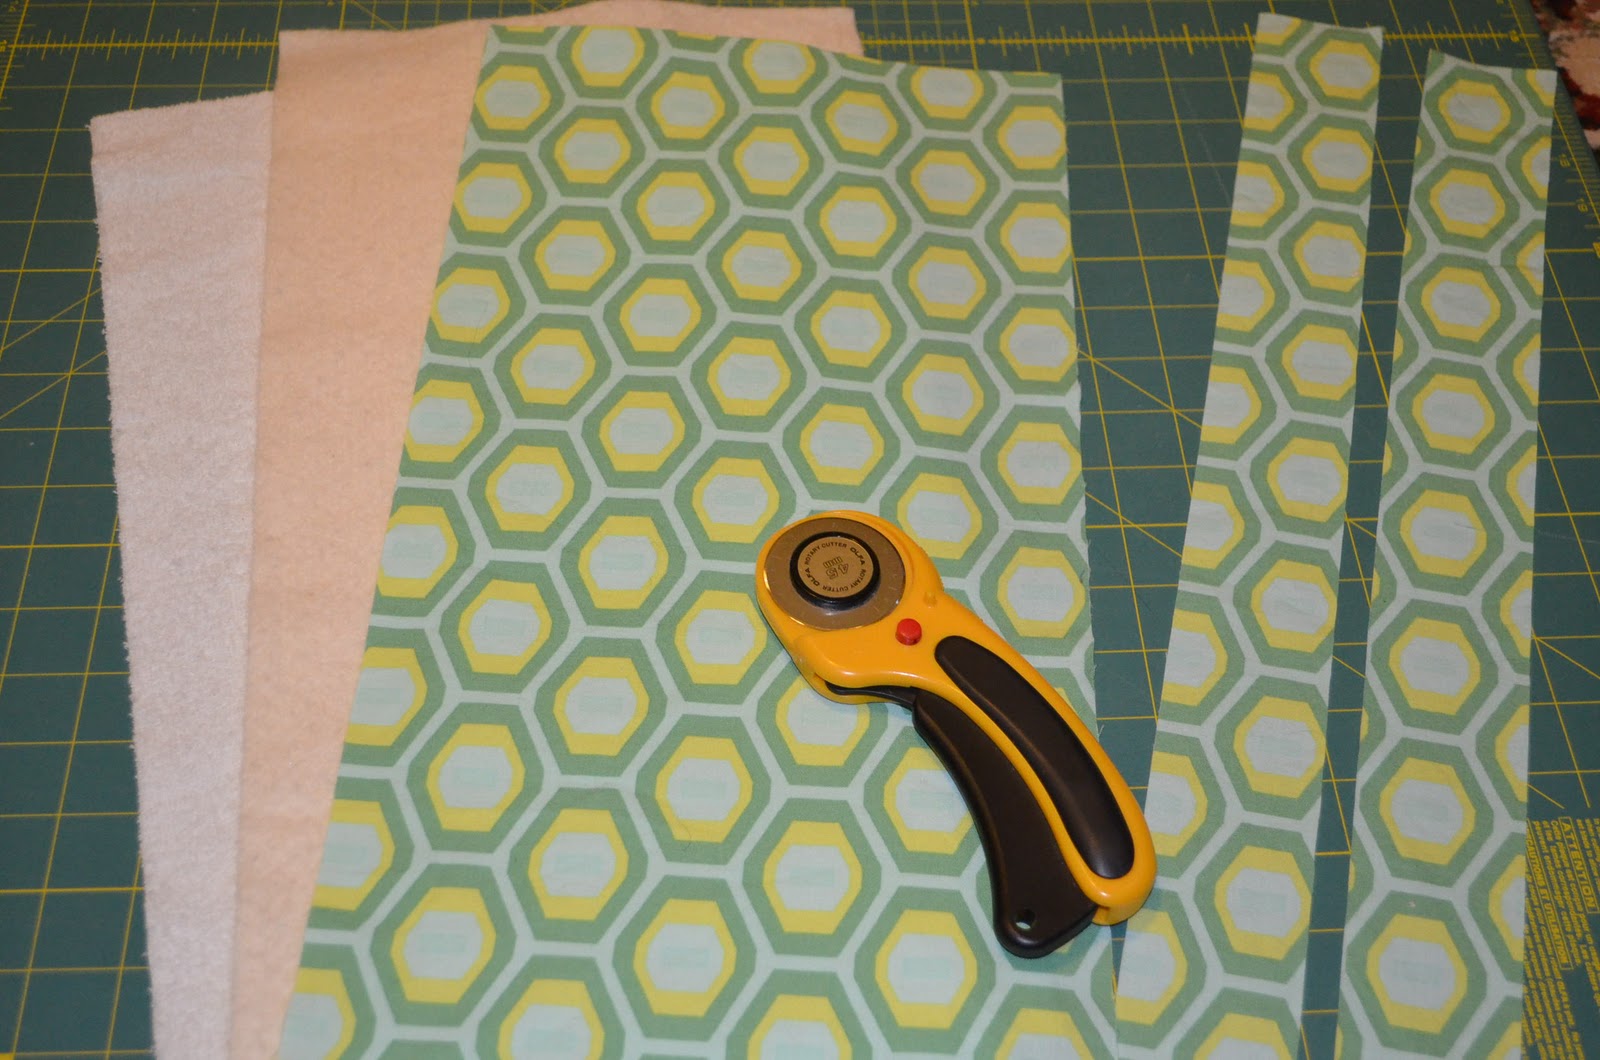
Terry Cloth: 9"x18" (I like a very soft terry cloth)
Batting: 9"x18"
Thread: coordinating to your fabric
Cutting Mat
Rotary Cutter
Rulers
Starch (I like to starch my hem to get a nice crisp straight line)
Directions:
1. Cut Fabric
- Cut 9"x18" of the main fabric, terry cloth and the batting
- Cut 2"x18" of the main fabric for the straps

2. Straps:
- Iron the fabric in half, open back up and iron both sides so they meet in the crease, fold again and re-iron the first crease. You should have 4 layers of fabric measuring 1/2" wide

- Sew a small seam allowance on the left and right side of the fabric from the top to the bottom.

- Iron the top down and then down again and sew a seam.


3. Burp Cloth
- Put a crease at the halfway point of top of your burp cloth with the print side up.
- Pin the straps up so that the straps stay within the burp cloth and you don't end up sewing them in on accident
- Lay the Straps within the burp cloth with a tail sticking out.


- Layer your fabrics; print side up with the straps, then the terry cloth down facing the print and the batting on the very top.

- Pin well. I will use a pin put in sideways to remind me to leave an opening.

- Sew a 1/4" to 1/2" seam around the burp cloth but make sure you leave your opening for turning it inside out. I usually will back stitch over the straps.

- Remove pins and cut the corners.

- Turn inside right and use a turning tool (skewer in my case) to make nice pointy corners.

- Iron well and sew a small seam around the burp cloth. Remember to pull the thread to the top before sewing the small seam allowance.

- Make sure you have trimmed all loose threads and you are done!
No comments:
Post a Comment